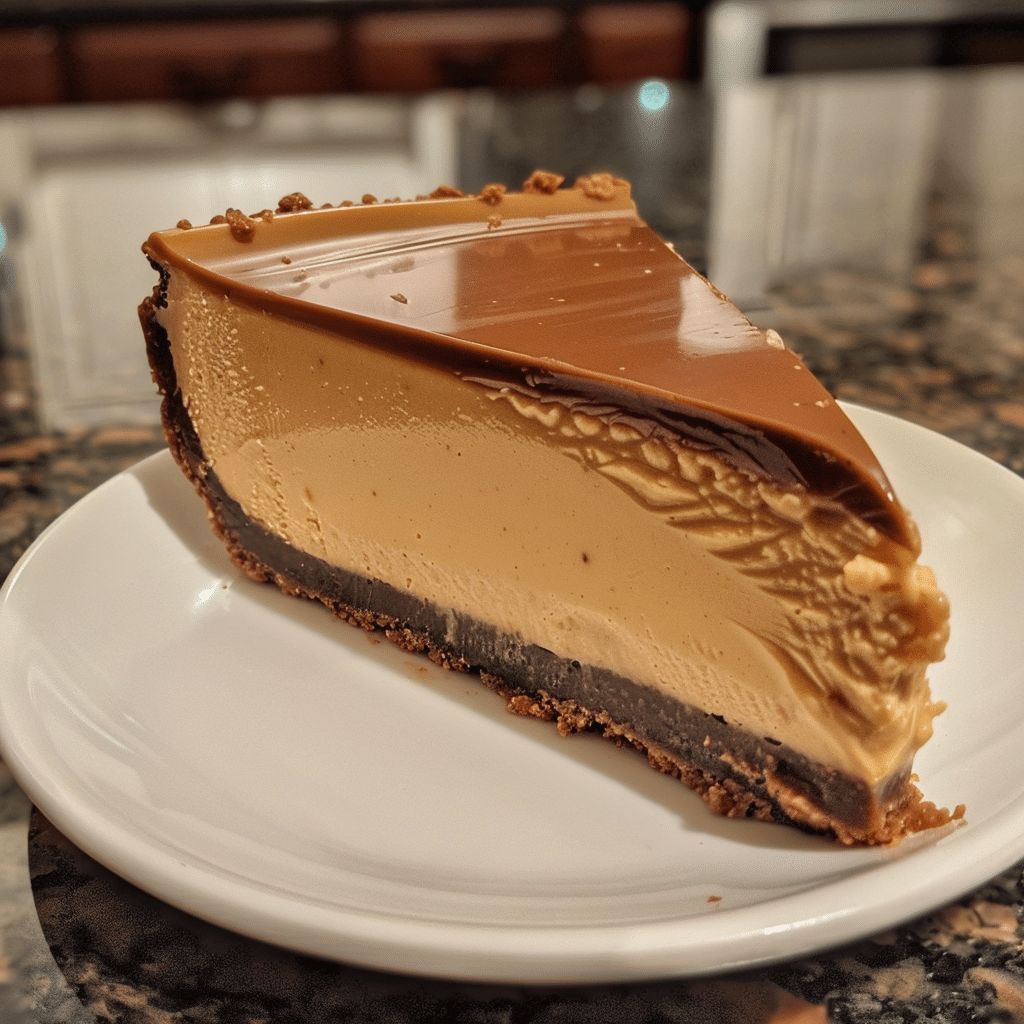
If you’re looking for a dessert that combines indulgence with simplicity, this No-Bake Peanut Butter Cheesecake is your new favorite treat. It’s smooth, creamy, and bursting with rich peanut butter flavor — all without turning on the oven. The buttery graham cracker crust, velvety peanut butter filling, and light whipped topping make it a dessert that feels both luxurious and comforting. I made this once using crunchy peanut butter instead of smooth, and it added a wonderful texture to each bite. Perfect for summer days, dinner parties, or whenever you crave something sweet without the fuss, this cheesecake delivers pure satisfaction in every slice.
Why You’ll Love This Recipe
This recipe is the ultimate combination of creamy, nutty, and sweet. With no baking required, it’s ideal for busy days or warm weather when you want to avoid the oven. The filling sets beautifully in the fridge and tastes even better the next day. Plus, you can prepare it ahead of time, making it perfect for entertaining or holidays.
Print
No-Bake Peanut Butter Cheesecake (Creamy, Rich, and Effortlessly Decadent)
- Total Time: 6 hours 20 minutes (including chilling)
- Yield: 8 servings
- Diet: Vegetarian
Description
This No-Bake Peanut Butter Cheesecake is a rich, creamy, and indulgent dessert that combines the nutty flavor of peanut butter with the smooth texture of cheesecake — all without turning on the oven. It’s an easy, crowd-pleasing treat perfect for any occasion.
Ingredients
- For the Crust:
- 2 cups graham cracker crumbs
- ½ cup melted butter
- 2 tablespoons granulated sugar
- For the Filling:
- 16 oz cream cheese, softened
- 1 cup creamy peanut butter
- 1 cup powdered sugar
- 1 teaspoon vanilla extract
- 1 ½ cups heavy whipping cream
- For the Topping (optional):
- ½ cup melted chocolate or chocolate syrup
- ¼ cup chopped peanuts
Instructions
- In a medium bowl, combine graham cracker crumbs, melted butter, and sugar. Mix until evenly moistened.
- Press the crust mixture firmly into the bottom of a 9-inch springform pan. Refrigerate while preparing the filling.
- In a large mixing bowl, beat cream cheese and peanut butter together until smooth and creamy.
- Add powdered sugar and vanilla extract, and continue beating until fully combined.
- In a separate bowl, whip the heavy cream until stiff peaks form.
- Gently fold the whipped cream into the peanut butter mixture until smooth and fluffy.
- Spoon the filling over the chilled crust and smooth the top with a spatula.
- Cover and refrigerate for at least 6 hours, or overnight, until fully set.
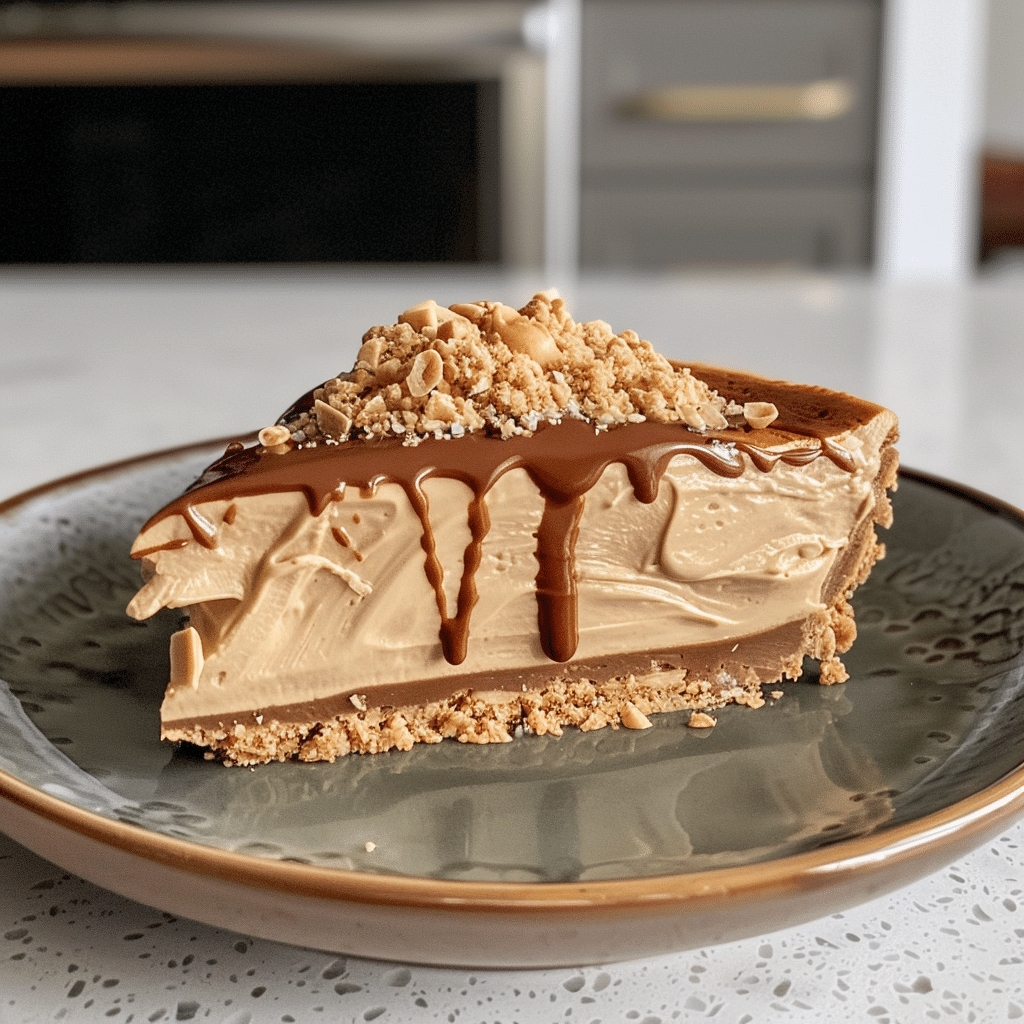
- Before serving, drizzle with melted chocolate or syrup and sprinkle with chopped peanuts if desired.
Notes
- Use full-fat cream cheese for the creamiest texture.
- If you prefer a chocolate crust, substitute chocolate graham crackers or crushed Oreos.
- For a dairy-free option, use coconut cream and dairy-free cream cheese.
- Store leftovers in the refrigerator for up to 5 days or freeze for up to 2 months.
- Prep Time: 20 minutes
- Cook Time: 0 minutes
- Category: Dessert
- Method: No-Bake
- Cuisine: American
Ingredients
(Tip: You can find the complete list of ingredients and their measurements in the recipe card below.)
Cream cheese – The base of the cheesecake filling, giving it that signature creamy, tangy flavor. Use full-fat for the best texture.
Peanut butter – Smooth, natural peanut butter works perfectly for a creamy, rich filling. Avoid using varieties with added sugar or oil if possible.
Powdered sugar – Sweetens the filling and blends easily for a silky texture.
Whipped topping (or heavy cream) – Lightens the filling and gives it a fluffy, mousse-like consistency. You can use homemade whipped cream if you prefer.
Graham cracker crumbs – Create the classic buttery base for the crust.
Butter – Binds the graham cracker crumbs and adds richness to the crust.
Vanilla extract – Enhances the flavor of both the crust and the filling.
Salt – Balances the sweetness and enhances the peanut butter flavor.
Chocolate ganache (optional) – A drizzle of chocolate over the top adds a decadent touch that pairs beautifully with peanut butter.
Directions
Start by preparing the crust. In a medium bowl, combine the graham cracker crumbs, melted butter, sugar, and a pinch of salt. Mix until evenly moistened. Press the mixture firmly into the bottom of a 9-inch springform pan. Refrigerate for at least 30 minutes while preparing the filling.
In a large mixing bowl, beat the cream cheese until smooth and creamy. Add peanut butter, powdered sugar, and vanilla extract, mixing until fully combined and fluffy. If using whipped topping, gently fold it into the peanut butter mixture until no streaks remain.
Pour the filling over the chilled crust, spreading it evenly with a spatula. Smooth the top, cover with plastic wrap, and refrigerate for at least 4 hours, or overnight for best results.
For an optional finishing touch, drizzle with chocolate ganache or sprinkle crushed peanuts over the top before serving. Slice, serve chilled, and enjoy the dreamy texture and rich flavor of this effortless dessert.
Equipment needed :
Must-Have Tools to Get Rolling
Here’s what you’ll want to have on hand:
Silicone Spatula – Durable, heat-resistant silicone spatula perfect for mixing, scraping, and spreading. Gentle on non-stick cookware and easy to clean.
Large pot – You’ll need this to boil the whole cabbage head and soften the leaves.
large bowl –Spacious, durable large bowl ideal for mixing, serving, or food preparation. Made from sturdy material and easy to clean.
Sharp knife – For coring the cabbage and slicing out the thick stem in each leaf. A paring knife works best.
Mixing bowl – A big bowl makes it easier to combine your meat and rice filling evenly.
Cutting board – For prepping cabbage leaves and rolling them like a pro.
9×13-inch baking dish – Ideal size to fit your rolled cabbage leaves snugly and prevent them from unraveling.
knife – A sharp, durable kitchen knife perfect for slicing, chopping, and dicing with ease.
Servings and timing
This recipe serves 8–10 people and takes about 20 minutes of prep time, plus 4 hours of chilling.
Storage/reheating
Store the cheesecake in the refrigerator, covered, for up to 5 days. You can also freeze individual slices for up to 1 month; thaw in the fridge before serving. This cheesecake tastes best when served cold. Since it’s a no-bake dessert, reheating isn’t necessary.
Variations and Customizations
Chocolate Peanut Butter Cheesecake
Add melted chocolate to the filling for a rich, chocolatey twist.
Oreo Crust Version
Replace the graham cracker crust with crushed chocolate sandwich cookies for an indulgent base.
Nutella Swirl Cheesecake
Swirl in a few tablespoons of Nutella before chilling for a hazelnut flavor explosion.
Mini Cheesecakes
Divide the mixture into cupcake liners for perfectly portioned treats.
Salted Caramel Drizzle
Top with caramel sauce and a sprinkle of sea salt for a sweet-and-salty variation.
Crunchy Peanut Twist
Use crunchy peanut butter for added texture and a bit of extra crunch.
Whipped Chocolate Layer
Spread a layer of whipped chocolate ganache over the chilled cheesecake for a double-layered dessert.
FAQs
Can I use crunchy peanut butter instead of smooth?
Yes, it adds a great texture and a bit of crunch to the filling.
Do I need gelatin to set the cheesecake?
No, the peanut butter and cream cheese provide enough structure without gelatin.
Can I use homemade whipped cream instead of whipped topping?
Absolutely, just whip 1 cup of heavy cream to stiff peaks and fold it in.
How long does it need to chill?
At least 4 hours, but overnight is best for perfect firmness.
Can I make this cheesecake ahead of time?
Yes, it’s an excellent make-ahead dessert and keeps well in the fridge for several days.
What type of peanut butter works best?
Smooth, creamy peanut butter gives the best consistency. Avoid oily natural types that separate.
Can I make this dairy-free?
Yes, use dairy-free cream cheese and coconut whipped cream for a vegan version.
Can I freeze this cheesecake?
Yes, wrap slices tightly and freeze for up to 1 month. Thaw in the refrigerator before serving.
What toppings go well with this cheesecake?
Chocolate drizzle, caramel sauce, whipped cream, or chopped peanuts all work beautifully.
How do I keep the crust from crumbling?
Make sure the crumbs are well-coated in butter and pressed firmly into the pan.
Conclusion
This No-Bake Peanut Butter Cheesecake is proof that you don’t need an oven to make something truly decadent. It’s creamy, rich, and full of nutty goodness — a dessert that impresses guests yet requires almost no effort. The smooth peanut butter filling, buttery crust, and optional chocolate drizzle make it a dream come true for peanut butter lovers. Keep this recipe on hand for holidays, celebrations, or anytime you want a dessert that’s as easy as it is irresistible.
Hungry for more? Visit our website for full recipes and follow us on Pinterest for daily foodie inspo you’ll love to pin!