Why You’ll Love This Recipe
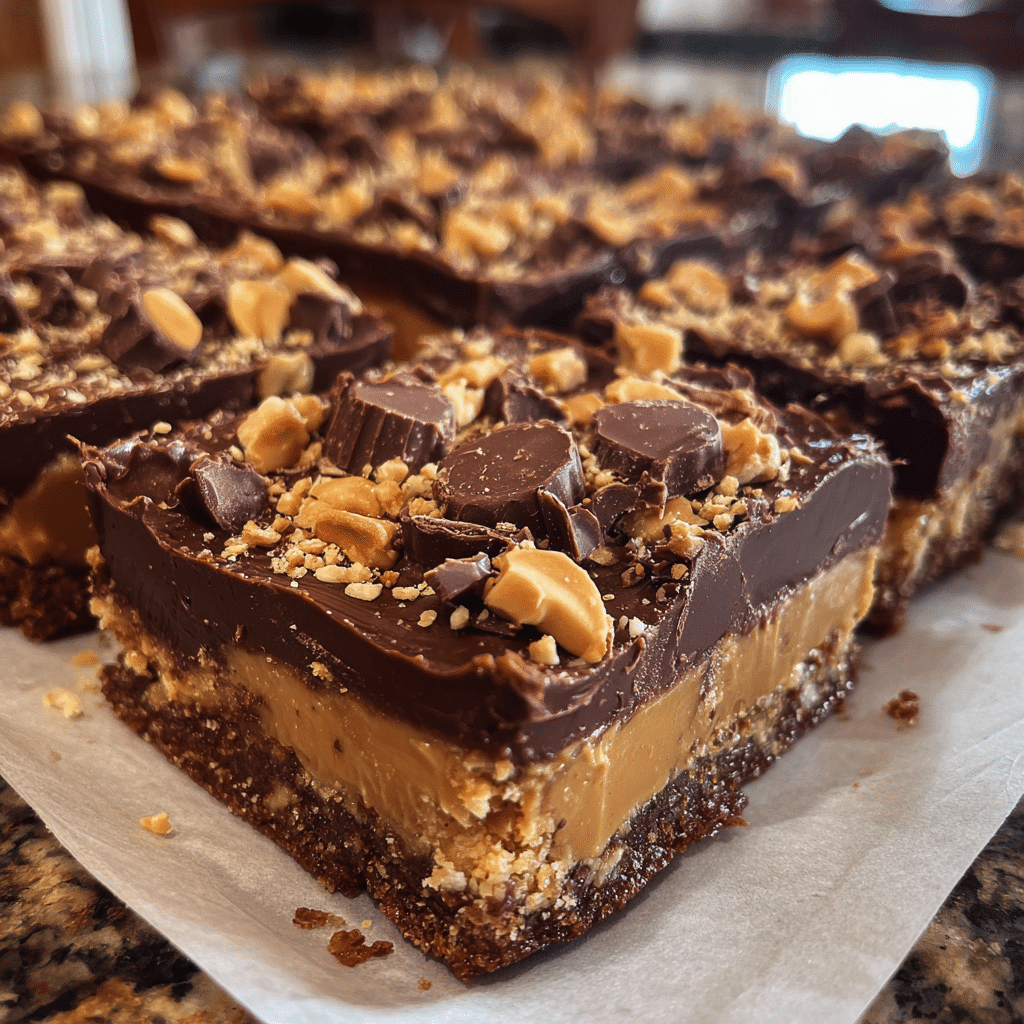
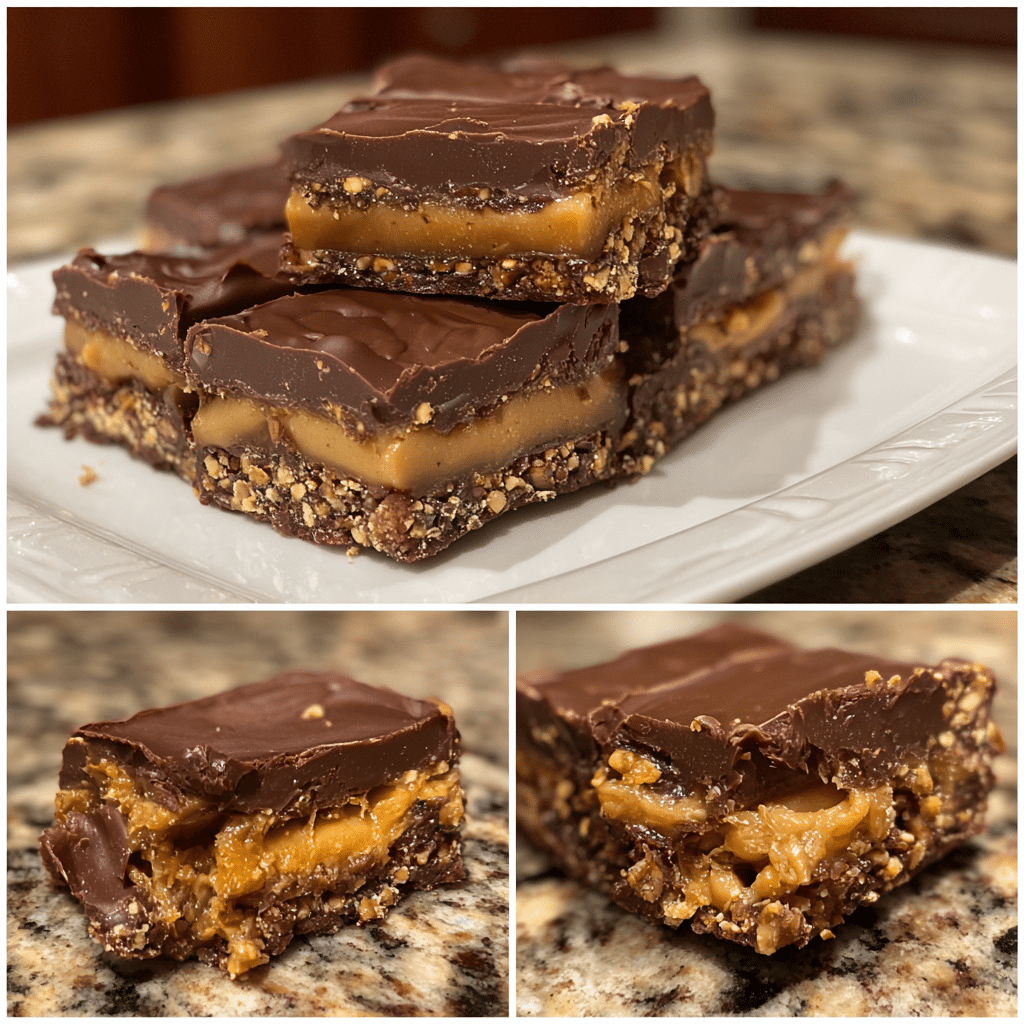
Homemade Reese’s Bars are one of those desserts that feel indulgent yet surprisingly easy to make. If you love the combination of rich chocolate and creamy peanut butter, this recipe delivers that familiar flavor in a simple homemade form. What makes these bars especially appealing is that they require no baking, no special equipment, and very little time. I first made these when I needed a last-minute dessert, and they quickly became a household favorite. The texture is soft but sturdy, the sweetness is balanced, and the peanut butter layer tastes even better than the store-bought version. These bars are perfect for parties, holidays, or anytime you want a reliable dessert that everyone recognizes and loves. Once chilled and sliced, they look polished enough for entertaining while still feeling comforting and nostalgic.
Print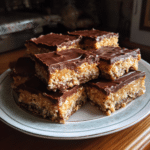
Homemade Reese’s Bars: A No-Bake Chocolate Peanut Butter Classic
- Total Time: 1 hour 15 minutes
- Yield: 16 bars
- Diet: Vegetarian
Description
Homemade Reese’s Bars are rich, no-bake treats made with a creamy peanut butter filling and topped with smooth melted chocolate, tasting just like the classic candy bar.
Ingredients
- 1 cup creamy peanut butter
- 1/2 cup unsalted butter, melted
- 1 teaspoon vanilla extract
- 2 cups powdered sugar
- 1 1/2 cups milk chocolate chips
- 1/4 cup peanut butter (for chocolate topping)
Instructions
- Line an 8×8-inch baking pan with parchment paper.
- In a large bowl, mix 1 cup peanut butter, melted butter, and vanilla extract until smooth.
- Gradually add powdered sugar and mix until a thick, smooth dough forms.
- Press the peanut butter mixture evenly into the prepared pan.
- In a microwave-safe bowl, melt chocolate chips and 1/4 cup peanut butter in 30-second intervals, stirring until smooth.
- Pour the melted chocolate mixture over the peanut butter layer and spread evenly.
- Refrigerate for 1–2 hours, or until fully set.
- Lift from the pan, cut into bars, and serve.
Notes
- Store bars in an airtight container in the refrigerator.
- Use dark chocolate for a less sweet version.
- Let bars sit at room temperature for a few minutes before cutting for cleaner slices.
- These bars can be frozen for longer storage.
- Prep Time: 15 minutes
- Cook Time: 0 minutes
- Category: Dessert
- Method: No-Bake
- Cuisine: American
Ingredients
(Tip: You can find the complete list of ingredients and their measurements in the recipe card below.)
Creamy Peanut Butter
Peanut butter forms the base of the bars and provides their signature flavor. A standard creamy peanut butter works best for a smooth, cohesive texture. Natural peanut butter is not recommended, as the oil separation can affect firmness.
Unsalted Butter
Butter adds richness and helps bind the peanut butter layer together. Using unsalted butter allows better control over the sweetness and overall balance.
Powdered Sugar
Powdered sugar sweetens the peanut butter mixture while keeping it soft and easy to press into the pan. It also contributes to the classic candy-like texture.
Graham Cracker Crumbs
These crumbs add structure and a subtle crunch that keeps the bars from being overly soft. They also balance the richness of the peanut butter.
Semi-Sweet Chocolate Chips
Chocolate chips create the smooth top layer. Semi-sweet chocolate is ideal because it offsets the sweetness of the peanut butter layer.
Directions
Begin by lining an 8-inch square pan with parchment paper, leaving an overhang for easy removal. In a mixing bowl, melt the butter gently until just softened, then stir in the peanut butter until smooth. Add the powdered sugar and graham cracker crumbs, mixing until fully combined. The mixture should be thick but spreadable.
Press the peanut butter mixture evenly into the prepared pan, smoothing the surface with a spatula. Melt the chocolate chips gently until smooth, then pour the chocolate over the peanut butter layer. Spread evenly, ensuring full coverage.
Refrigerate the bars for at least one hour, or until the chocolate is fully set. Once firm, lift the bars out of the pan and slice into squares. Allow them to sit at room temperature for a few minutes before serving for the best texture.
Equipment needed :
Must-Have Tools to Get Rolling
Here’s what you’ll want to have on hand:
Silicone Spatula – Durable, heat-resistant silicone spatula perfect for mixing, scraping, and spreading. Gentle on non-stick cookware and easy to clean.
Large pot – You’ll need this to boil the whole cabbage head and soften the leaves.
large bowl –Spacious, durable large bowl ideal for mixing, serving, or food preparation. Made from sturdy material and easy to clean.
Sharp knife – For coring the cabbage and slicing out the thick stem in each leaf. A paring knife works best.
Mixing bowl – A big bowl makes it easier to combine your meat and rice filling evenly.
Cutting board – For prepping cabbage leaves and rolling them like a pro.
9×13-inch baking dish – Ideal size to fit your rolled cabbage leaves snugly and prevent them from unraveling.
knife – A sharp, durable kitchen knife perfect for slicing, chopping, and dicing with ease.
Servings and timing
This recipe yields approximately 16 bars. Preparation time is about 15 minutes, with an additional 60 minutes of chilling time.
Storage/reheating
Store Homemade Reese’s Bars in an airtight container in the refrigerator for up to one week. For longer storage, they may be frozen for up to two months. No reheating is necessary; simply allow frozen bars to thaw slightly before serving.
Variations and Customizations
These bars are highly adaptable and easy to customize. For a darker, less sweet topping, use dark chocolate instead of semi-sweet. If you enjoy added texture, chopped peanuts or rice cereal can be mixed into the peanut butter layer for extra crunch.
I have also tested this recipe using almond butter, which works well and adds a slightly toasted flavor. For a richer chocolate layer, stir a small amount of butter into the melted chocolate to create a softer bite.
You can adjust the thickness of the layers by using a larger or smaller pan. A thinner version works well for serving larger groups, while thicker bars are perfect for a more indulgent dessert. These variations make the recipe versatile without sacrificing its classic appeal.
Nutrition and Dietary Info
Homemade Reese’s Bars are a rich dessert and best enjoyed in moderation. They contain healthy fats from peanut butter along with carbohydrates from sugar and graham crackers. Gluten-free graham crackers may be used if needed.
Expert Tips & Customizations
Clean Slices
Use a sharp knife warmed with hot water for smooth, professional-looking cuts.
Balanced Sweetness
If you prefer less sweetness, reduce the powdered sugar slightly and use dark chocolate.
Firm Texture
Allow sufficient chilling time to ensure clean layers and easy slicing.
FAQs
Can I make these without graham crackers?
Yes, but the texture will be softer and more like fudge.
Are these bars no-bake?
Yes, the recipe requires no oven at all.
Can I use crunchy peanut butter?
You can, but the bars will have a more textured bite.
How do I prevent the chocolate from cracking?
Let the bars sit at room temperature briefly before slicing.
Can I double the recipe?
Yes, simply use a larger pan and adjust chilling time.
Are these freezer-friendly?
Yes, they freeze very well when properly wrapped.
Can I use milk chocolate?
Yes, though the bars will be sweeter.
How thick should the layers be?
The peanut butter layer should be thicker than the chocolate layer.
Are these kid-friendly?
Yes, they are a favorite with children.
Can I make these dairy-free?
Use dairy-free butter and chocolate alternatives.
Conclusion
Homemade Reese’s Bars are a timeless dessert that combines simplicity with bold flavor. With minimal effort and maximum payoff, this recipe is ideal for both beginners and experienced home cooks. Whether served at a gathering or enjoyed as a sweet treat during the week, these bars are consistently satisfying and easy to make again and again.
Hungry for more? Visit our website for full recipes and follow us on Pinterest for daily foodie inspo you’ll love to pin!