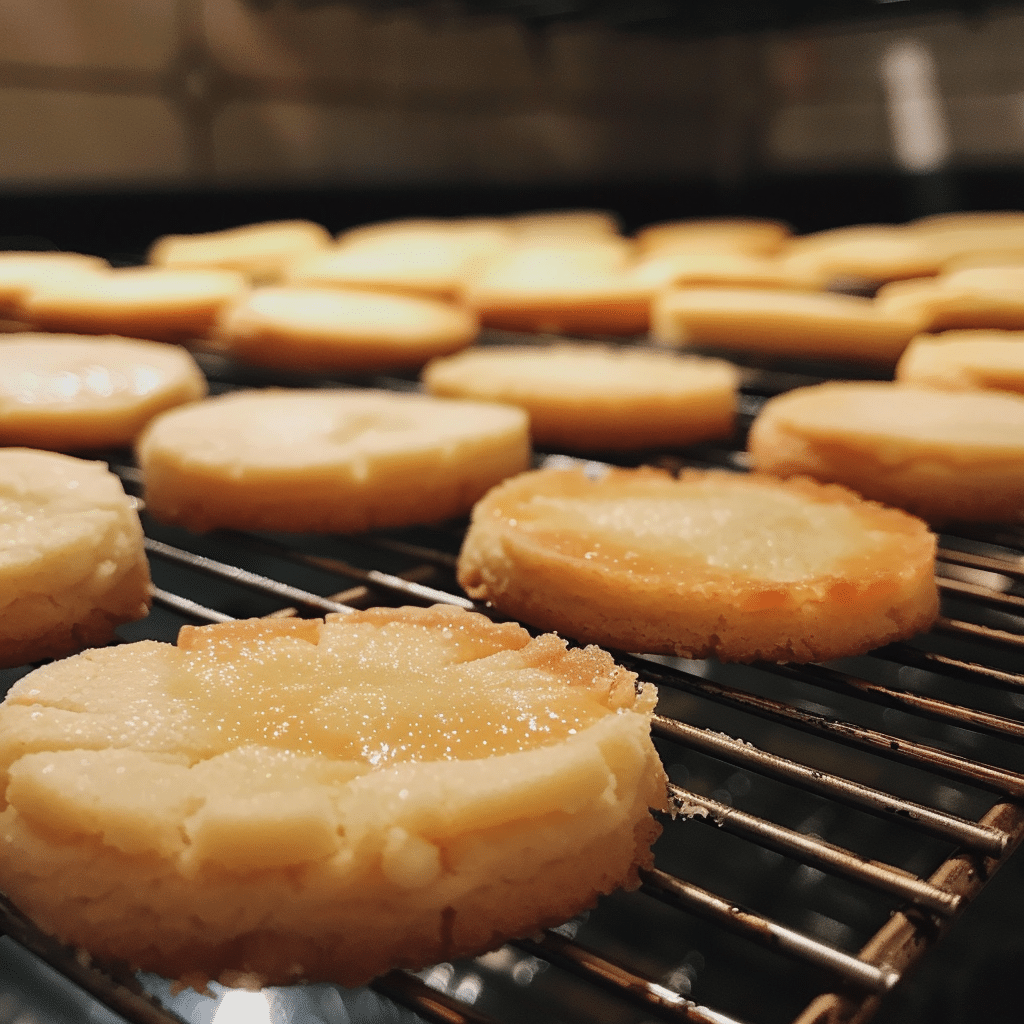
Few things evoke the comforting aroma of home quite like a tray of freshly baked butter cookies. These Classic Butter Cookies are crisp around the edges, melt-in-your-mouth tender inside, and filled with that unmistakable buttery flavor that defines true cookie perfection. Whether you enjoy them plain, dusted with sugar, or dipped in chocolate, these cookies bring a timeless charm to your baking table. I tried making them with a hint of vanilla extract and almond milk as a substitute for regular milk, and they turned out beautifully delicate. They’re elegant enough for gifting yet simple enough for everyday enjoyment.
Why You’ll Love This Recipe
You’ll love this recipe for its simplicity and versatility. It’s a reliable classic that uses pantry staples, comes together quickly, and delivers bakery-quality cookies with minimal effort. The dough is easy to handle and perfect for shaping — whether piped into pretty swirls, rolled into rounds, or pressed with a cookie stamp. These cookies also store well, making them ideal for holiday baking or a make-ahead treat.
Print
Classic Butter Cookies: Simple, Buttery, and Perfect Every Time
- Total Time: 27 minutes
- Yield: 36 cookies
- Diet: Vegetarian
Description
Classic butter cookies are rich, crisp, and buttery treats that melt in your mouth — perfect for holidays or any time you crave a simple, delicious cookie.
Ingredients
- 1 cup (227g) unsalted butter, softened
- 3/4 cup (150g) granulated sugar
- 1 large egg
- 2 tsp vanilla extract
- 2 1/4 cups (280g) all-purpose flour
- 1/2 tsp salt
- Optional: colored sugar or sprinkles for decoration
Instructions
- Preheat oven to 350°F (175°C) and line baking sheets with parchment paper.
- In a large bowl, cream together the butter and sugar until light and fluffy.
- Beat in the egg and vanilla extract until well combined.
- Gradually add the flour and salt, mixing until a soft dough forms.
- For shaped cookies, place the dough in a cookie press or roll it into 1-inch balls and flatten slightly with a fork.
- Decorate with sugar or sprinkles if desired.
- Bake for 10–12 minutes, or until the edges are just golden.
- Let cool on the baking sheet for 5 minutes before transferring to a wire rack to cool completely.
Notes
- Ensure butter is softened but not melted for the best texture.
- Dough can be refrigerated for up to 3 days or frozen for up to 2 months.
- For a festive touch, dip cooled cookies in melted chocolate and decorate with sprinkles.
- Prep Time: 15 minutes
- Cook Time: 12 minutes
- Category: Dessert
- Method: Baking
- Cuisine: European
Ingredients
(Tip: You can find the complete list of ingredients and their measurements in the recipe card below.)
Unsalted Butter – The heart of this recipe. Use high-quality butter for the best flavor and a smooth, creamy texture. Let it soften to room temperature before mixing.
Granulated Sugar – Adds sweetness while helping the cookies achieve their signature crispness.
Egg – Binds the dough and gives the cookies structure without making them dry.
All-Purpose Flour – Provides the perfect base for tender, buttery cookies that hold their shape.
Vanilla Extract – Infuses a gentle warmth and aromatic sweetness that complements the butter beautifully.
Salt – A small pinch balances the sweetness and enhances the buttery richness of the cookies.
Milk – Just a touch helps bring the dough together smoothly, ensuring it pipes or rolls easily.
Directions
Preheat your oven to 350°F (175°C) and line two baking sheets with parchment paper. In a large mixing bowl, cream together the softened butter and sugar until light and fluffy — about 2 to 3 minutes using a hand or stand mixer. Add the egg and vanilla extract, and continue beating until fully incorporated.
Gradually add the flour and salt, mixing on low speed until a soft dough forms. If the dough feels too thick to pipe, mix in a tablespoon of milk at a time until smooth and pliable. Transfer the dough into a piping bag fitted with a star tip and pipe swirls or shapes onto the prepared baking sheets. Alternatively, you can roll the dough into balls and flatten them lightly with a fork.
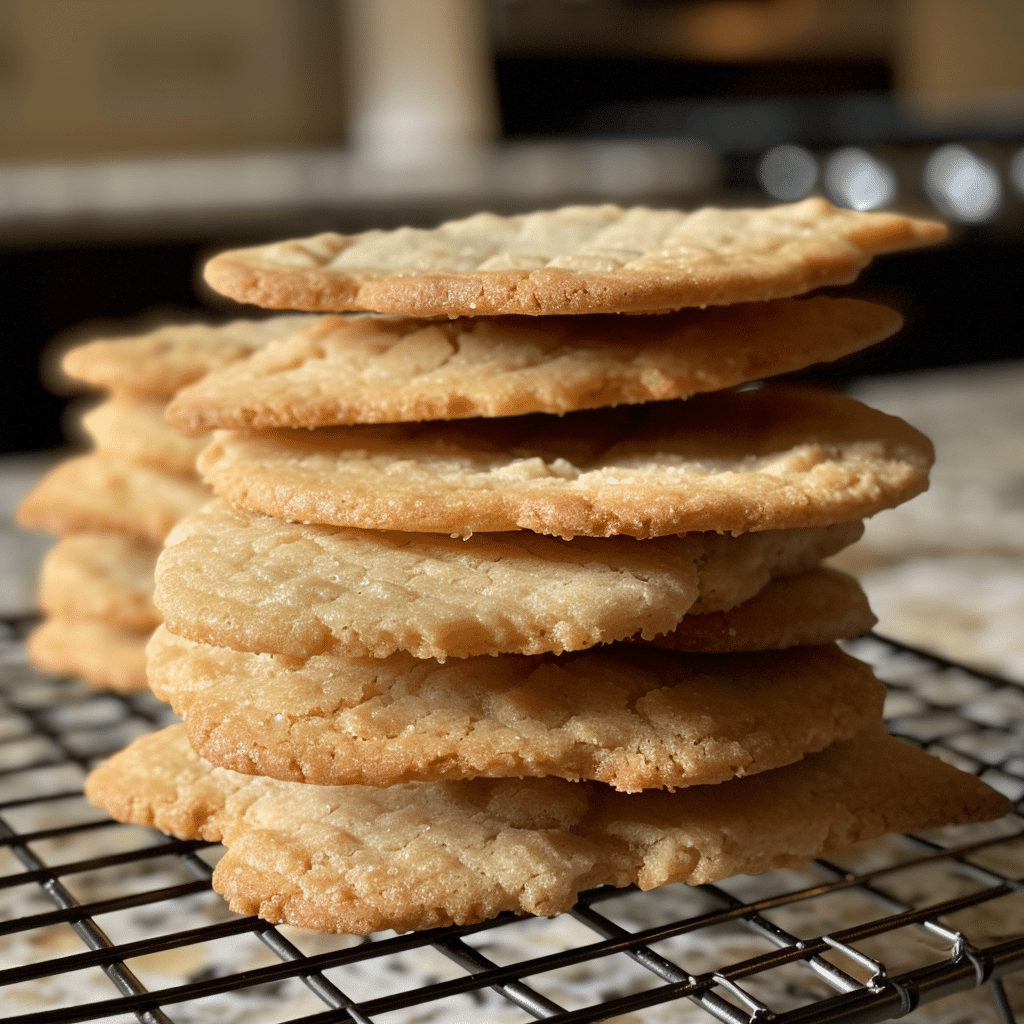
Bake for 10 to 12 minutes, or until the edges are lightly golden. Let the cookies cool on the baking sheet for a few minutes before transferring them to a wire rack to cool completely. Enjoy plain, dusted with powdered sugar, or dipped in melted chocolate for a decorative finish.
Essential Equipment :
Must-Have Tools to Get Rolling
Here’s what you’ll want to have on hand:
Silicone Spatula – Durable, heat-resistant silicone spatula perfect for mixing, scraping, and spreading. Gentle on non-stick cookware and easy to clean.
Large pot – You’ll need this to boil the whole cabbage head and soften the leaves.
large bowl –Spacious, durable large bowl ideal for mixing, serving, or food preparation. Made from sturdy material and easy to clean.
Sharp knife – For coring the cabbage and slicing out the thick stem in each leaf. A paring knife works best.
Mixing bowl – A big bowl makes it easier to combine your meat and rice filling evenly.
Cutting board – For prepping cabbage leaves and rolling them like a pro.
9×13-inch baking dish – Ideal size to fit your rolled cabbage leaves snugly and prevent them from unraveling.
knife – A sharp, durable kitchen knife perfect for slicing, chopping, and dicing with ease.
Servings and timing
This recipe makes about 30 cookies and takes approximately 30 minutes from start to finish — 10 minutes for preparation and 12 minutes for baking, plus cooling time.
Storage/reheating
Store the cookies in an airtight container at room temperature for up to one week. For longer storage, freeze the baked cookies for up to three months. To refresh, warm them in a 300°F (150°C) oven for 3–4 minutes.
Variations and Customizations
Chocolate-Dipped Butter Cookies: Dip half of each cookie in melted dark or white chocolate and allow to set for an elegant touch.
Lemon Butter Cookies: Add 1 teaspoon of lemon zest and a few drops of lemon juice to the dough for a citrusy twist.
Almond Butter Cookies: Replace vanilla extract with almond extract for a nutty aroma and deeper flavor.
Holiday Spritz Cookies: Tint the dough with food coloring or add festive sprinkles before baking.
Cinnamon Sugar Butter Cookies: Roll the dough balls in cinnamon sugar before baking for a warm, spiced version.
Gluten-Free Option: Substitute all-purpose flour with a gluten-free baking blend for a similar texture.
Nut-Topped Cookies: Press a pecan or almond into the center of each cookie before baking.
Sandwich Butter Cookies: Spread jam or chocolate ganache between two cookies for an indulgent treat.
Vanilla Bean Upgrade: Use scraped vanilla bean seeds instead of extract for a gourmet flavor.
Espresso Twist: Add ½ teaspoon of instant espresso powder for a subtle coffee note that pairs perfectly with butter.
FAQs
Can I make the dough ahead of time?
Yes, you can prepare the dough up to two days in advance and store it in the refrigerator.
Can I freeze the cookie dough?
Absolutely — shape the dough, freeze on a baking tray, then transfer to a freezer bag for up to three months.
What kind of butter is best?
Use high-quality unsalted butter; salted butter can alter the flavor balance.
Why did my cookies spread too much?
The butter may have been too soft. Chill the dough for 15–20 minutes before baking.
Can I use margarine instead of butter?
Butter is recommended for authentic flavor and texture, but margarine can work in a pinch.
How can I make the cookies crispier?
Bake them for an extra 1–2 minutes until the edges are more golden brown.
How do I get perfect shapes when piping?
Use a sturdy piping bag and chill the dough slightly if it’s too soft.
Can I skip the vanilla extract?
You can, but it adds depth of flavor — consider replacing it with almond or lemon extract instead.
How do I prevent cookies from sticking?
Always use parchment paper or a silicone baking mat on your tray.
Are these cookies good for gifting?
Yes, they store beautifully and look elegant in tins or boxes for holidays and special occasions.
Conclusion
Classic Butter Cookies are a timeless delight — crisp, buttery, and elegantly simple. Their melt-in-your-mouth texture and rich flavor make them a favorite for both everyday treats and festive celebrations. With just a few ingredients and easy steps, you can create bakery-style cookies right in your kitchen. Whether enjoyed plain or customized with flavors and decorations, these cookies are the essence of homemade comfort and tradition.
Hungry for more? Visit our website for full recipes and follow us on Pinterest for daily foodie inspo you’ll love to pin!